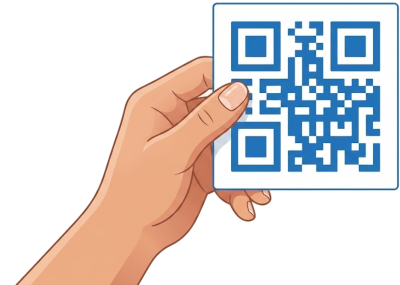
Keep us running with a donation
Our service is completely free and supported only by users like you, If you find our tool helpful, please consider a small donation. Every bit makes a difference!

Setting up your emergency QR code is simple. Follow these step-by-step instructions to create your code, save your account, and store the pass on your phone.
Go to our home page, fill out the short form with your emergency details, and click Generate QR Code.
On the page showing your new QR code, click the link that says Create an account. This keeps your code from expiring.
Type in your email address and pick a username, then submit the form.
Open your personal email app or website. You will see a new email from us. Open it and click the confirmation link inside.
The link from your email will open a webpage with a single Log In button. Click this button—it is a special one-time link that securely opens your new account.
Type a secure password into the password boxes, then click Save. Remember this password, as you will use it to log into your account in the future.
You will now be back on your QR code page. Find the setting labeled Enable Online Emergency Profile and turn it on. This allows emergency responders to view your complete medical and secondary contact details online when they scan your code.
Our service is completely free and supported only by users like you, If you find our tool helpful, please consider a small donation. Every bit makes a difference!